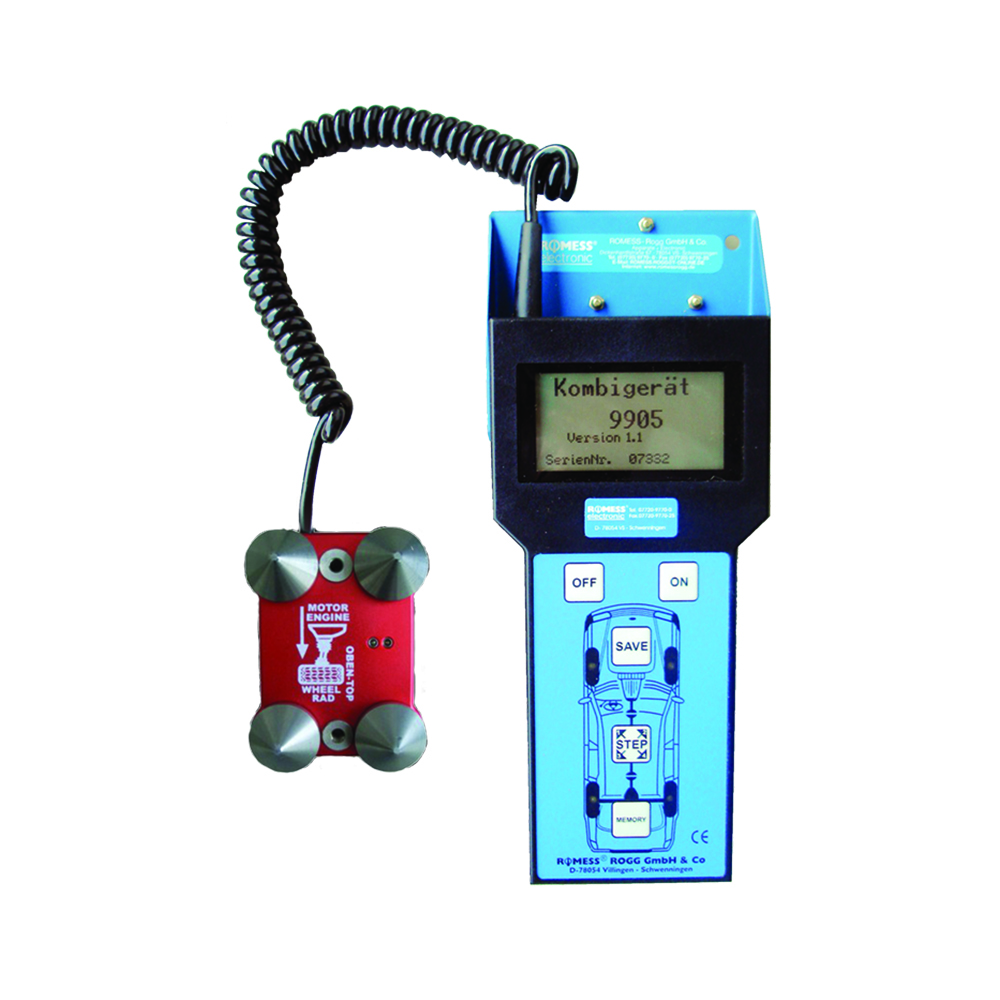
The combination gauge for both drive train alignment and inclination allows precise measurement of the drive train alignment as well as the ride height.
Vehicle level (inclination) is used to determine the adjustment values for wheel camber, -caster and toe. The drive train alignment is used when customers complain about vibrations while driving and / or irregularities in acceleration perhaps caused by a deviation in the buckling-angle of the drive shaft from the set point. So far, there were only mechanical tools available to gauge the drive shaft.
Structure and function
The combination gauge 09905 consists of a hand held unit with graphic module and the sensor for measuring two levels. The measuring range is +/- 15°. You can select which measurement to gauge in the main menu. Whichever one you choose, the first steps will be shown on the display and the program LED’s light up to show the points of measure.
To measure the lower transverse link of the front axle, the provided magnetic adaption plate 09606-50 is set in the designated recess to provide support for the sensor. Place the sensor with the points onto the adaption plate. The gauge results are shown on the display and saved by pressing the “Save” key. For gauging both the left and right side of the vehicle, ensure the spiral cord points toward the middle of the vehicle.
No adapter is needed for measuring the rear axle shaft. The sensor points can be held directly onto the drive shaft (exception M Class W163; see accessories). Once again the spiral cord should point toward the middle of the vehicle. After saving all four measurements, the data can be transmitted to the wheel alignment computer either via interface (serial or USB) or by using the accessory unit “Data transfer and charging station 09630-10”. The precise settings will be assigned automatically.
Different adaptations are needed for the sensor gauging the transmission and the differential. To measure the prop shafts, the measuring cones on the sensor can be held directly on the prop shaft. The result are shown on the display and saved by pressing the “Save” key. From two angles the unit calculates the difference which is relevant to the correct alignment of the drive shaft (difference ∠1∠2 = φ1; difference ∠2 ∠3 = φ2; difference ∠3 ∠4 = φ3).
The sensor distinguishes between the x- and y-axis. To receive accurate results, the spiral cord on the sensor should always point toward the front of the vehicle.
Features & Benefits
– High measuring accuracy
– Easiest handling
– Power supplied by customary rechargeable batteries (4x Mignon AA 1.2V/2100 mph)
– Battery charger
Order No.
09905-30 (230V/50Hz)
09905-31 (110V/60Hz)

| ROMESS 09905 | Technical Specifications |
|---|---|
| Power supply | 4.8V – 6V, 0.8W |
| Angle measuring range | +/- 15°, accuracy +/- 0.1° |
| Equipment | USB-Interface and serial R232 for data transfer |
| Plug-in battery charger | (12V/250mA) |
| Measurements (in mm) | L x W x H: 450 x 380 x 120 (in the case) approx. 205 x 100 x 70 (without case) |
| Packing measurements (in mm) | L x W x H: 455 x 400 x 120 |
| Part Number | Description |
|---|---|
| Order no. 09630-10 (230V), 09630-11 (110V) | Data transfer and charging station with power supply, data cord (9 pole, 1.2m length) |
| 09935-25 | Separate adaptations as a complete standard set |
| 09935-20 | Sensor support for adaptations |
| 09935-21 | Adaptation for transmission Ø 10 mm |
| 09935-22 | Adaptation for transmission Ø 15 mm |
| 09935-23 | Adaptation for transmission Ø 16 mm |
| 09935-24 | Adaptation for rear axle middle piece (Y-adaptation) |
| 20036-50 | Adapter set complete for NCV2 (automatic transmission) |
This item comes with a 1 year parts and labour warranty which is subject to terms and conditions.
Warranty exclusions :
Accidental damage, consumable items, vandalism (non-fair wear and tear), equipment upgrades or modifications, removal/movement of equipment, acts of nature and unauthorised repairs by non-Gemco service agents. Package prices are for U.K. Mainland only.



 ROMESS 09803-DTR Distronic – adjusting device
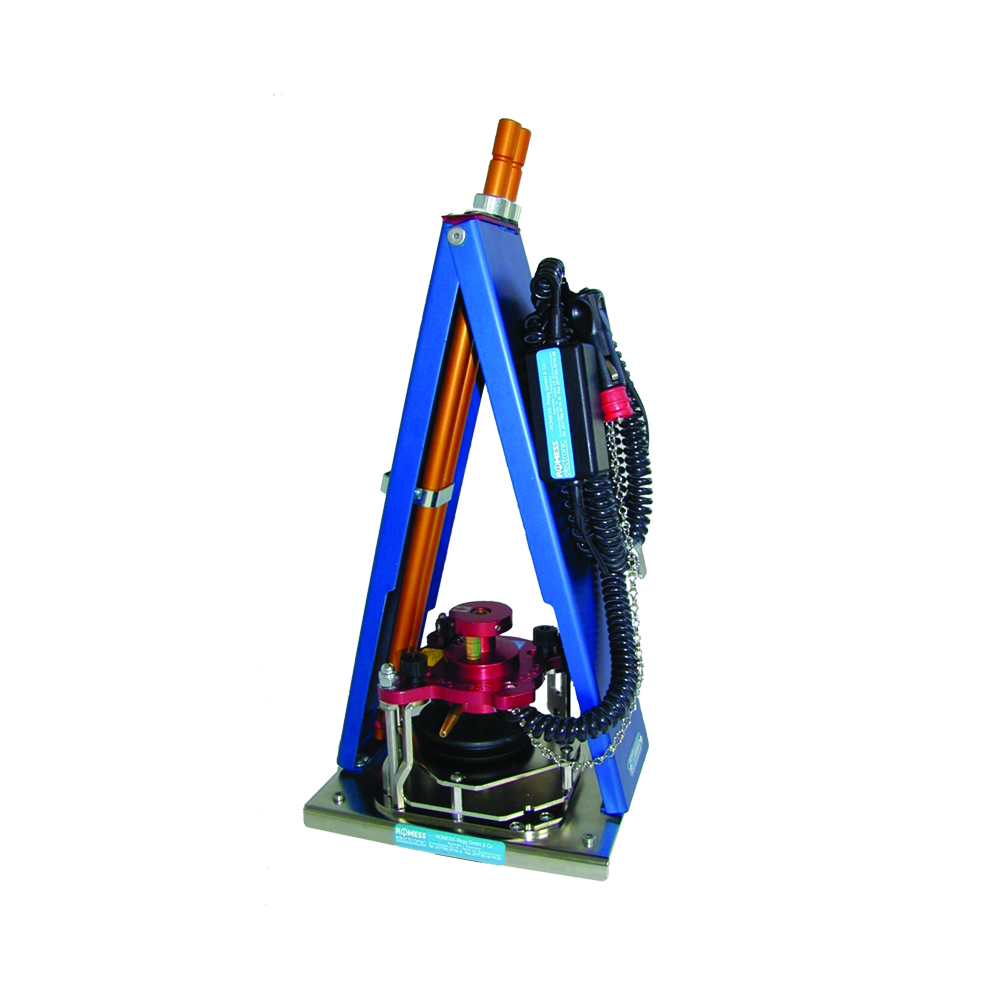
  ROMESS 09935 Prop-shaft buckling angle gauge
 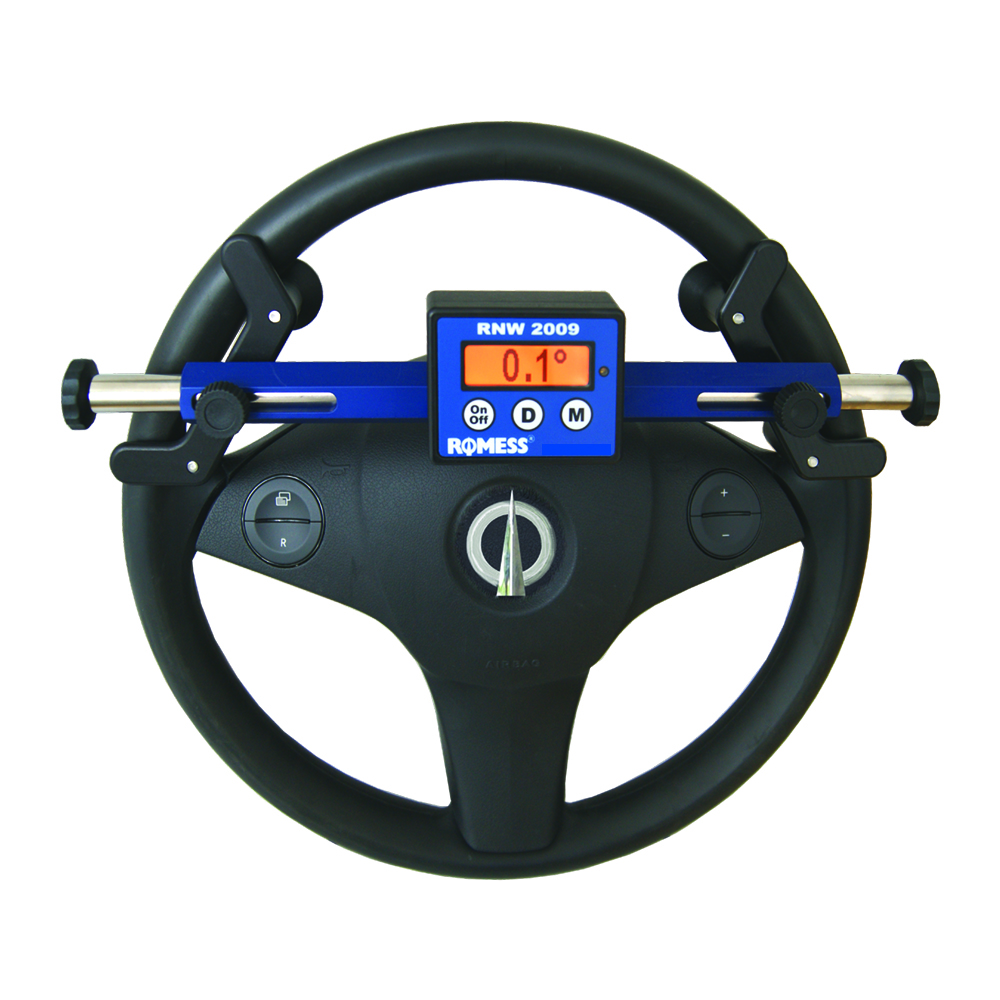 ROMESS Steering Wheel Adjusting Balance RNW 2009
 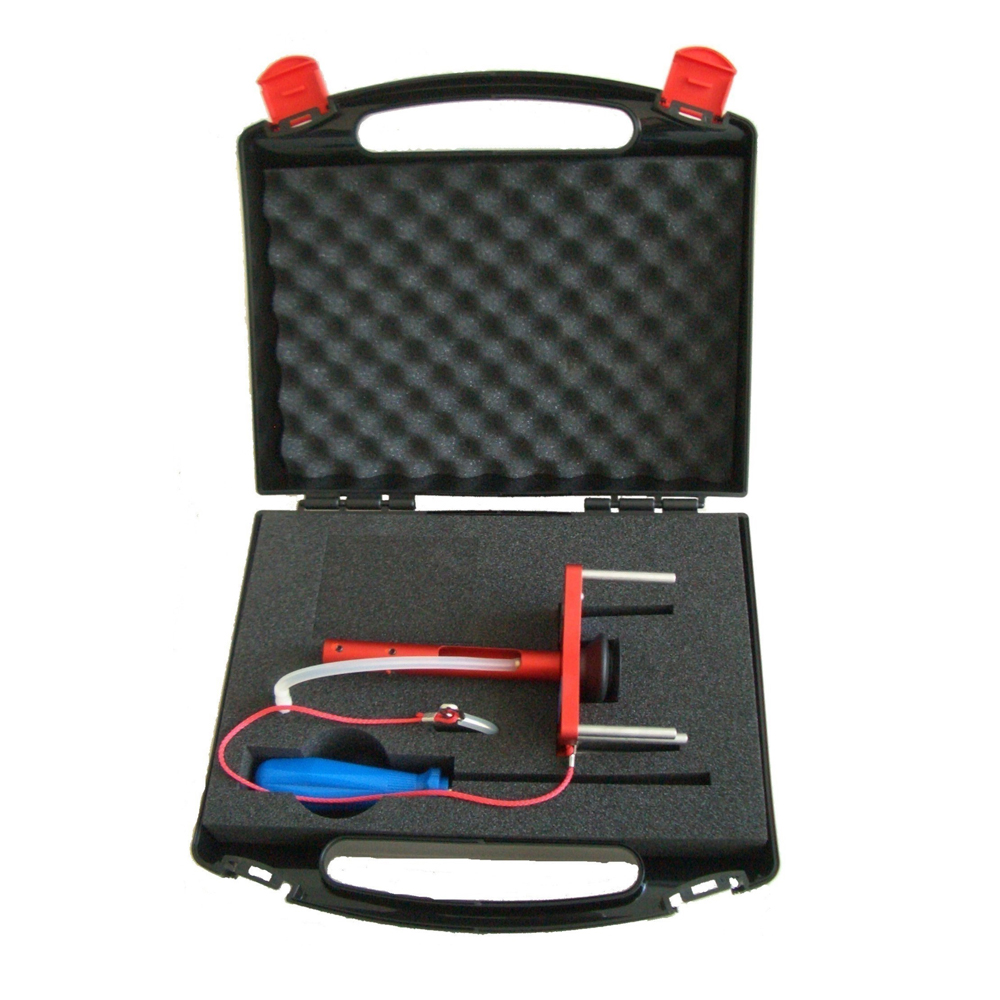 ROMESS Distronic Adjusting Device 09807-10